Guest post by Jessie.
Many of the people reading this post might enjoy hiking, some others might like camping… but would you want to hike and camp for five months straight? Living out of your backpack as you trek through some of the most amazing and treacherous terrains this country has to offer, sleeping in a tent nearly every night after a grueling 25–30 mile hike each day?
In 2017, I decided that walking 2,650+ miles from Mexico to Canada on the Pacific Crest Trail (PCT) sounded like my idea of “fun”. So, I quit my job and became a ketogenic thru-hiker.
Eating keto in the backcountry is no easy feat: there’s no refrigeration, no electricity, no kitchen… There’s a reason why keto hiking (especially long-distance keto thru-hiking) hadn’t been well documented; there were no accounts from successful thru-hikes as of 2017. I was told “you won’t make it 100 miles”, and bets were placed on whether I’d give up keto (or give up the hike) when I “finally came to [my] senses” and realized carbs were necessary for endurance endeavors.

They were so very wrong. Not only is keto hiking and backpacking absolutely possible, it’s our preferred way to backpack, lightening the load by carrying calorically dense food and providing stable, predictable energy to power up the mountains and thru the trek.
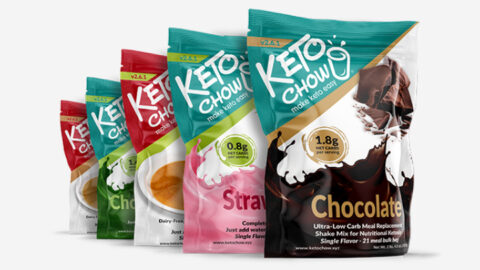
Crucial to the success of a keto thru-hike is the food chosen each day: what options do we have that are nutritionally-complete, shelf-stable, light-weight, and easy to pack? Clearly, Keto Chow does the trick! 2,650+ miles later, here’s how a daily breakfast of Keto Chow fueled the miles, and what other food options exist for ketogenic hikers, hunters, and backpackers looking to take their keto diet on the trail.
Keto Chow in the “Front Country”
I may have been the one hiking, but my partner, Christopher, was Mission Control at home, making sure my meals were sent ahead of me along the way, including my daily dose of Keto Chow. At home, we store our Keto Chow in large glass jars, and scoop straight from the jar to bottle or blender. On our first keto treks, we tried a portable version of the same method, using one large Ziploc with a scoop and a few days of Keto Chow. Handling the scoop with dirty hands and storing it in the bag risked spoiling the Keto Chow, but without the scoop and with no scale, it was extremely hard to accurately measure one portion.
On multi-day trips, our big food breakthrough was packing each day’s food portions into separate clear plastic bags, which made it easy to pull out that day’s food in the morning and pack the bear can away. Christopher stuck with this system for my PCT supplies, so he portioned out Keto Chow to pack it with each day’s food.

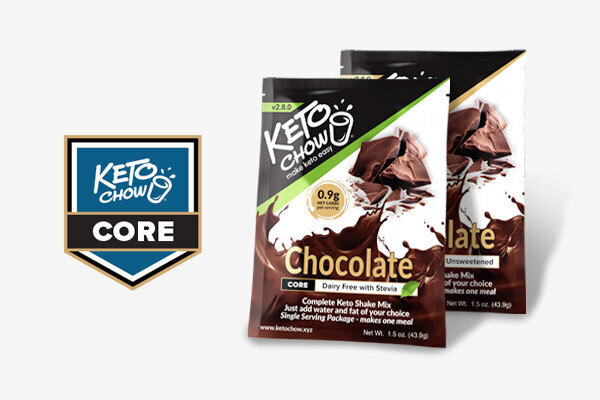
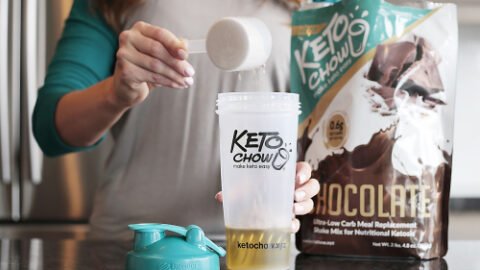
A Ziploc snack-sized bag was a perfect fit for one meal of Keto Chow with powdered cream. Christopher weighed out a full scoop of Keto Chow, added heavy cream powder and MCT powder, zipped it up, and shook it to mix the powders up. (When we tested these trailside, we had issues with the cream and MCT powder clumping up, and found that pre-mixing the dry powders helped everything mix smoothly.) When new flavors were available over that summer, he sent me samples to try and wrote the names on the bags in Sharpie. (Chocolate Peanut Butter still came out on top.)
Recipe/Macros
- One scoop of Keto Chow 2.0 (Chocolate Peanut Butter)
- 10g MCT powder
- 30g heavy cream powder
- Add water, shake to blend, and enjoy!
- Calories: 450
- Protein: 34g
- Fat: 31g
- Net carbs: 7.5g
A note on carb count: the high daily calorie burn of backpacking and thru-hiking seemed to give us extra headroom for net carbs, so the relatively high amount of carbs in these breakfasts wasn’t an issue for us. If you’re looking to reduce the carb count, swap the powdered heavy cream for avocado oil; it’s available in single-serve 1–2 oz portions online or you can carry it in a small sealed container like a water bottle.
Keto Chow in the Backcountry
 Our preferred method of making Keto Chow at home is with our immersion blender, but as much as we’d love to take that on the trail with us, the backcountry is lacking in a few key requirements to make that happen. So, we transition from electrical to mechanical when on the trail.
To keep it simple, you can just pack a basic blender bottle, which fulfills the basic requirements of “insert Keto Chow → add liquid → shake → drink”. However, if you’re anything like us, every ounce matters when you’re carrying it on your back. To lighten the load, we use a 1 qt Ziploc Container and Wire Whisk Balls. The Ziploc container weights a bit less than a standard blender bottle and can also store a stove and fuel canister while hiking. We recommend purchasing a few of each in case they break or get lost—when your only containers go out-of-commission on trail, it’s not easy to MacGyver a solution mid-trek (cue flashback when I had to mix my breakfast shake with my hair comb for a week when my whisk ball was left behind at a trail town).
Timing-wise, I prepared my shake the night before so it was ready for breakfast the next day. The Pacific Crest Trail crosses a wide variety of terrain—desert, alpine, grassy plains, etc…—but most nights dipped low enough to keep the shakes around “fridge temperature” until the next morning (even in the desert). If the overnight temps were too high, I waited until the next morning, found a cold stream to filter water from, and drank my shakes on-the-go.
 In the Sierra Nevada, I had the benefit of snow (perhaps the only positive of trudging through frozen snowfields for weeks at a time). This meant I could make my shake, bury it in a nearby snowbank, and have a frosty meal ready for me the next morning. I made sure to cleanly seal the container and bury it deep so that animals couldn’t find it, and I used an Ursak or a Bear Vault to prevent critter intrusions.
I’d drink our shake while breaking down camp (usually alongside a strong cup of coffee), and scrub out the container with filtered water and a rag. Every few days, I’d give it a good soapy wash to keep it clean, pick up my next post office maildrop from Christopher with its resupply of Keto Chow, and head back onto the trail.
Start the Day with Keto Chow
End the Day with Next Mile Meals
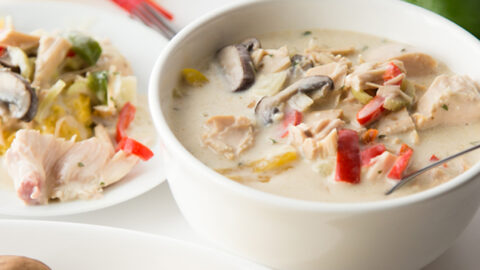
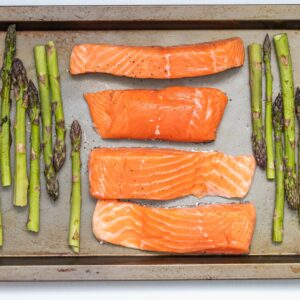
Keto Chow provided a much-needed dose of healthy nutrients each day, but as the hike planning progressed, I found myself struggling to find other keto-friendly food options, especially when craving a warm hearty dinner each night. Conventional “just add water” backpacking meal options are stuffed full with cheap carbs—rice, pasta, potatoes—because they’re inexpensive to make and shelf-stable. With my mornings kicking off with Keto Chow but unable to find an evening bookend for our meals, I made my own dinners from six trail-tested recipes and when I returned home, Christopher and I launched Next Mile Meals!

On the Next Mile Meals site, we’ve made shelf-stable freeze-dried meals available to every keto hiker, hunter, and outdoor adventurer to fuel their own treks. We’re also an educational resource: we did the math on why keto backpacking is perhaps the best weight-savings strategy, and even posted the DEXA scans of what ketogenic hiking does to one’s body to encourage other hikers wanting to stay keto while out adventuring.
Now a year into the company’s launch, we get emails nearly every day from customers who thought their backcountry hobbies were off-limits to them because of their diet or health restrictions. With Keto Chow and Next Mile Meals, no one has to choose between their health or their hobbies anymore. You can have your (sugar-free) cake and eat it too!
Happy Hiking!
Jessie & Christopher
